Wow, that title is super exciting and captivating, isn’t it? Maybe I should have called it “She tried using Trello for project management… and you won’t believe what happened next!” I really do find topics about building systems to be really interesting, though, and if you’re here, you probably do too!
If you run a service-based business like I do, it’s very likely that you’ve either heard about or tried a project management system. If you haven’t, let me introduce you to the idea. Project management systems, as the name suggests, keep information about a project (including communication, deadlines, to-do lists and documents) in one place. It’s a way better alternative to running a project out of your inbox, which often looks like having dozens of email threads going back and forth between you and your client, sending a bunch of email reminders to your clients when tasks are due, and searching frantically for the right thread with the information or attachment that you’re looking for. When you have all of your communication and information in one place, it makes both your life and your client’s life easier and helps to keep your project running smoothly.
There are lots of project management systems out there, and they come at a variety of price points. You may have heard of Trello, which is getting increasingly popular because it’s free and really flexible. The idea behind Trello is based on a Kanban system, which, if I’m being honest, I hadn’t heard of before I started using Trello. Shh, don’t tell anyone. Moving right along, the default Trello setup consists of three lists – To Do, Doing, and Done.

The default board layout
Each item in the list is called a “card”, and clicking on each card reveals details about the card that include the due date, label, messages, and file uploads. That will look something like this:
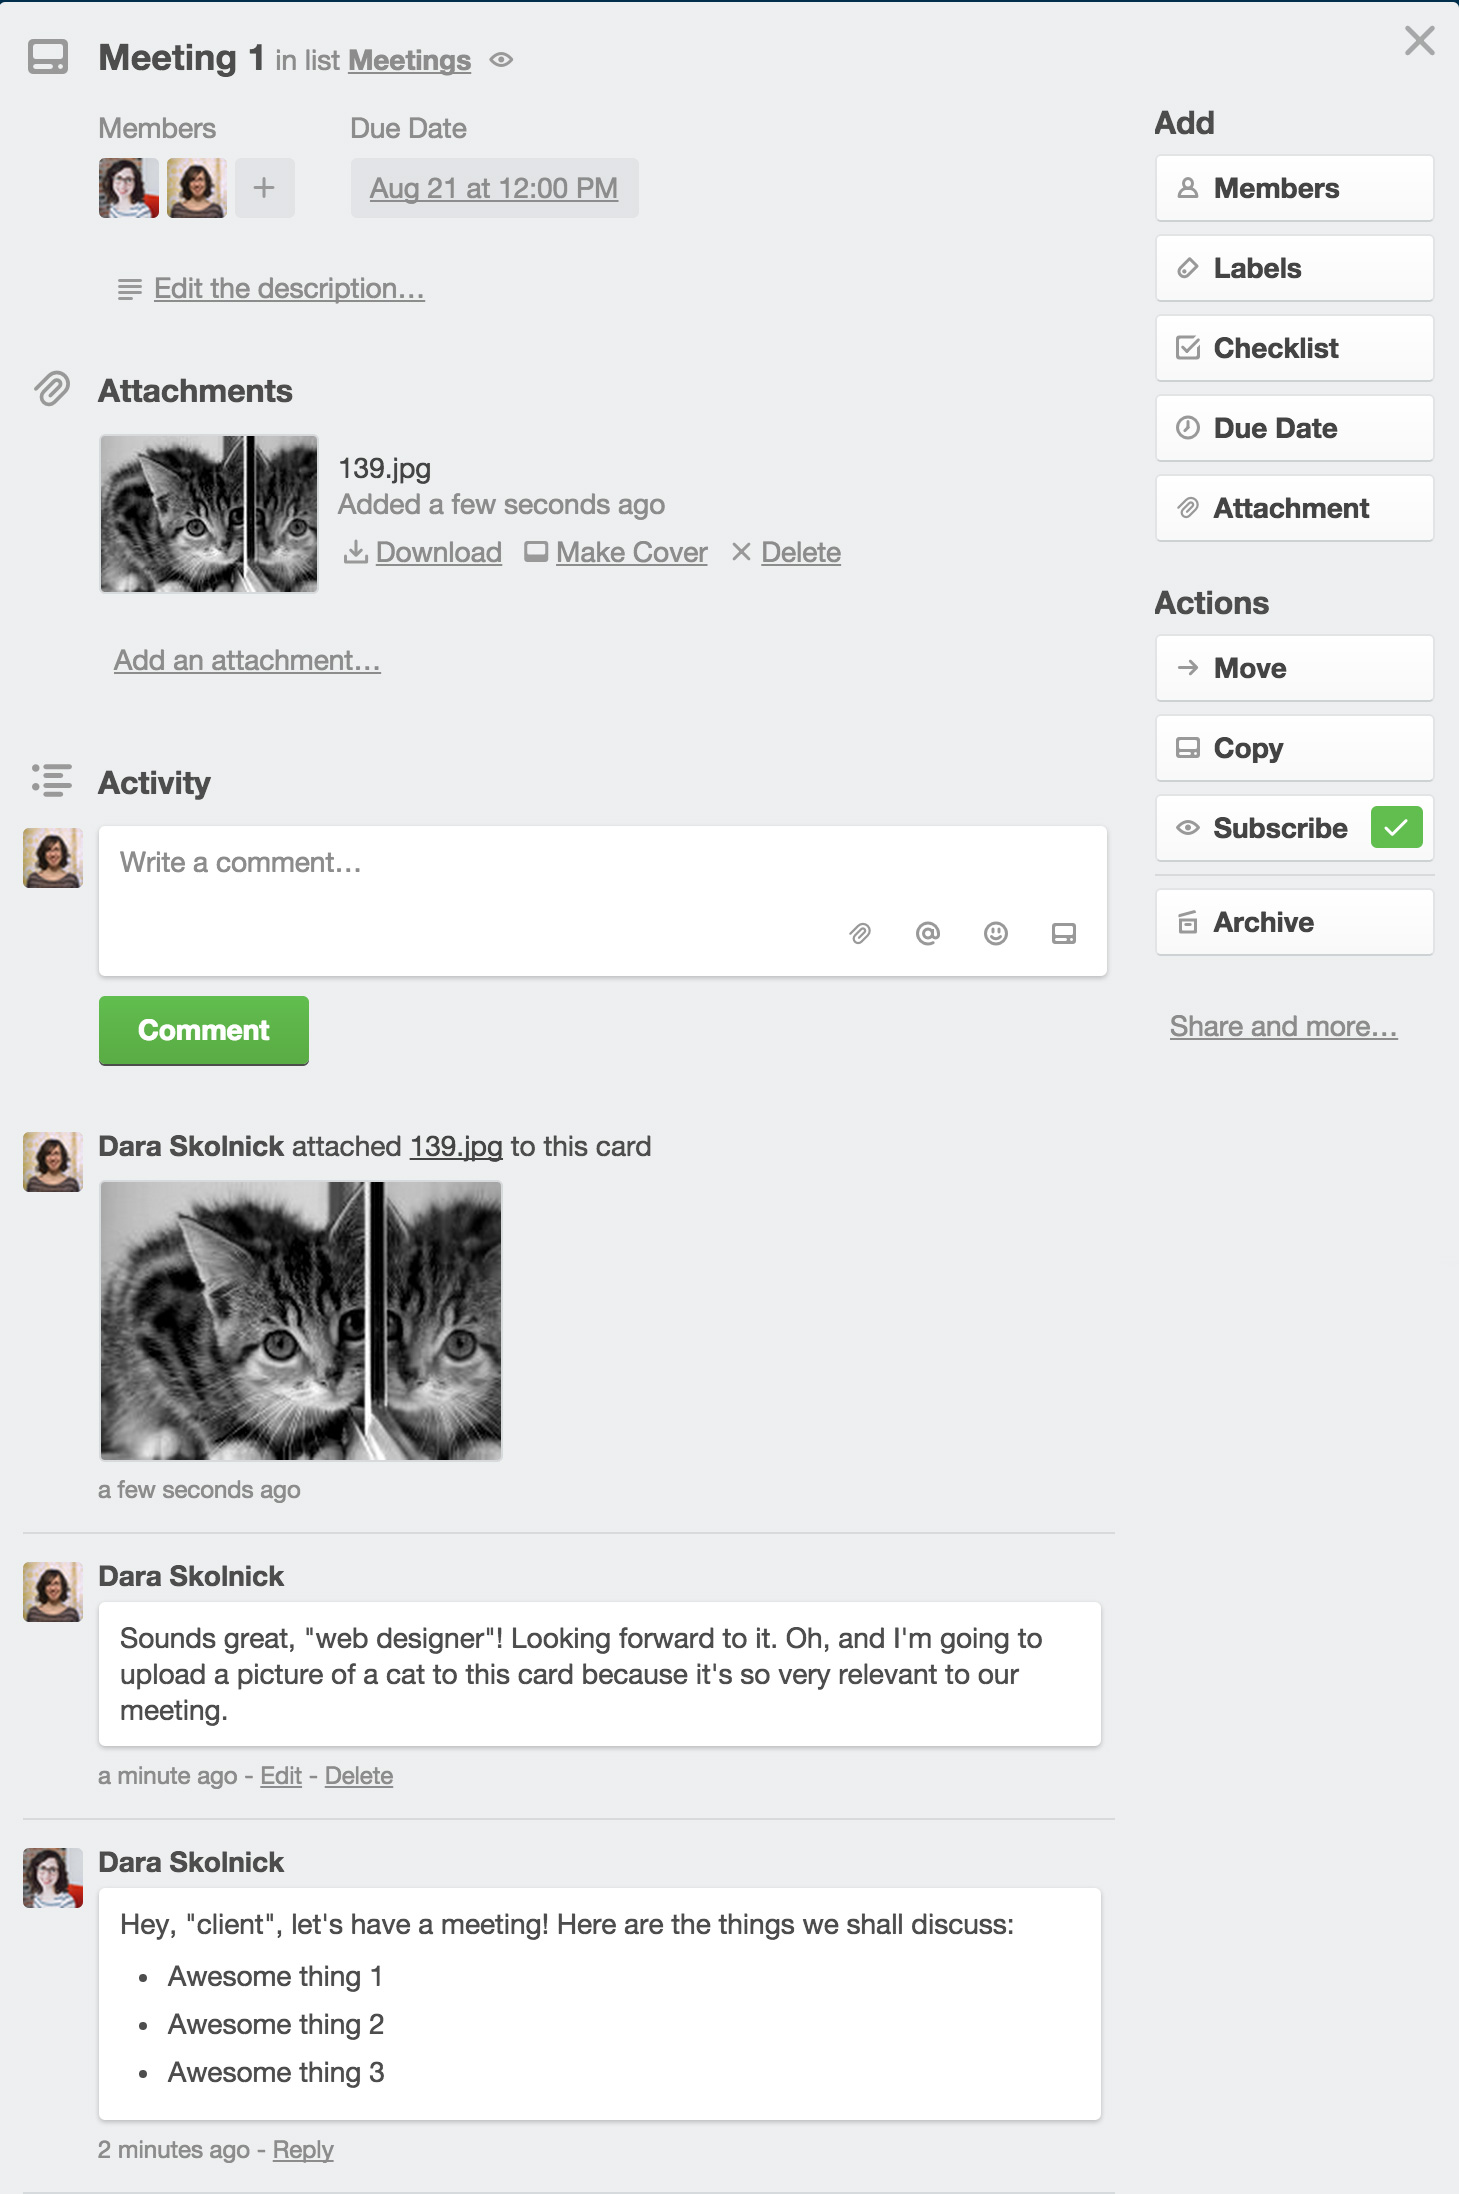
This is definitely a screenshot from a real project. Definitely.
Though Trello has a default list setup, you can actually set up the lists in any way that you want. However, complete freedom can be a little overwhelming, so you can do a quick Google search and find lots of examples of how people use Trello.
One thing I noticed, though, is that most of the examples online are about using Trello internally (i.e. people within a company using Trello to keep their own projects on track, or people using Trello by themselves). While this is great and a very common use case, what I couldn’t find were many examples of how to use Trello collaboratively with your client, who may or may not be used to using project management systems at all. So, I got creative and figured it out! Here’s what I came up with:
Board layout ideas
The great and terrible thing about Trello is that it’s super flexible, which can make it hard to think about how to set it up in an organized way that will work for both you and your client. Here are a few ideas about how you can organize your boards:
With a very simple project, you could break it down as simply as your to-dos, the client’s to-dos, and, optionally, what’s done. This is good for short projects that aren’t broken down into lots of phases. Here’s what that might look like:
Your to-dos, Client’s to-dos, Done
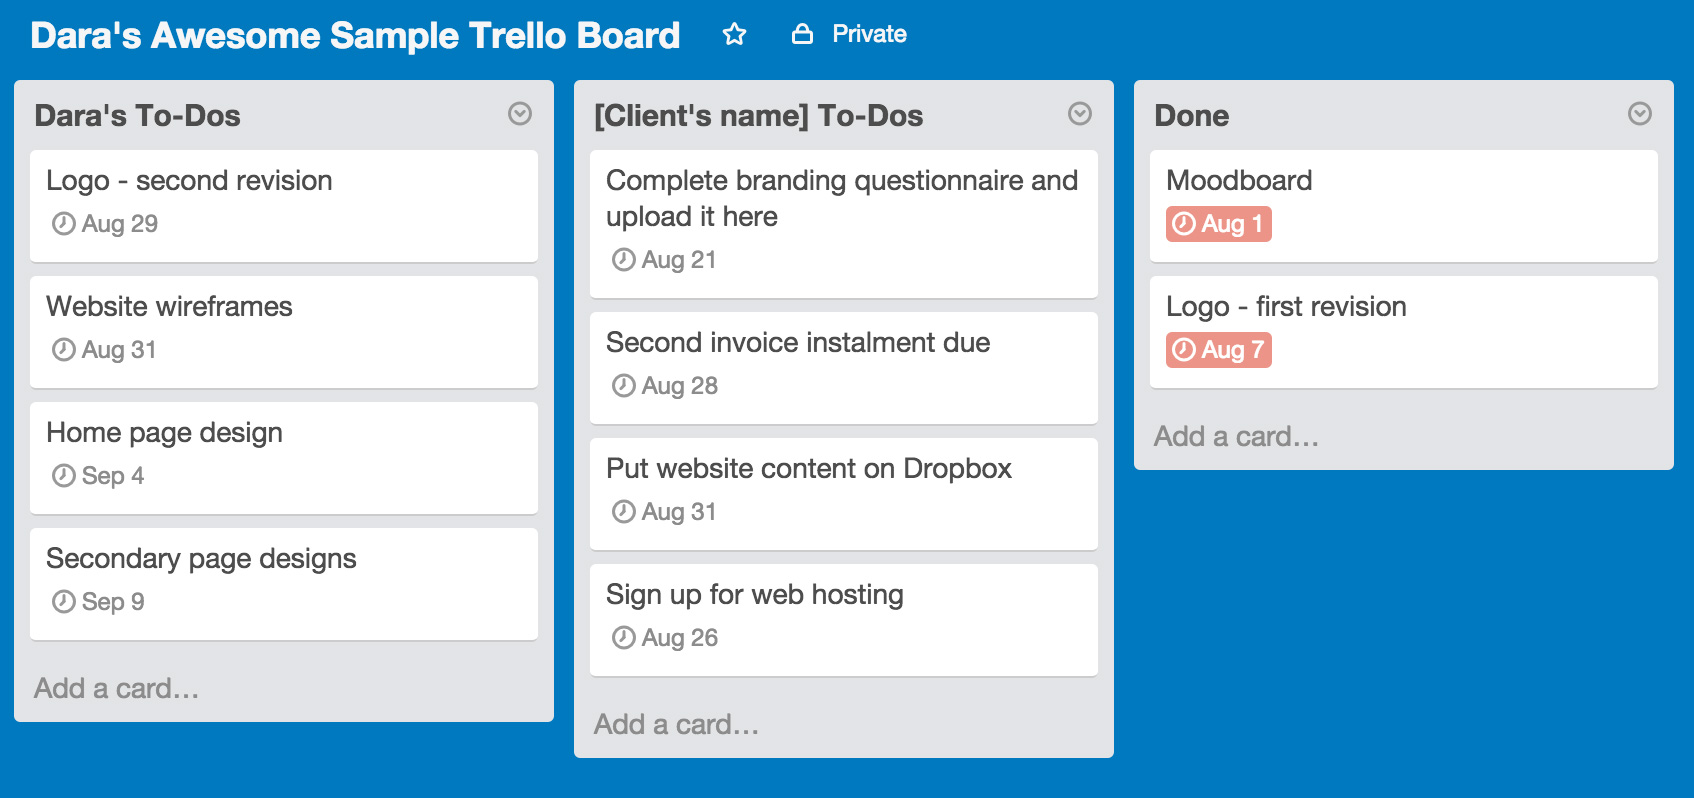
More complex projects, however, could get kind of crazy in this format. You don’t want your lists to be 100 items long, because that would be terrible. I mostly prefer to break my boards down by phase instead, which looks more like this:
Project stages
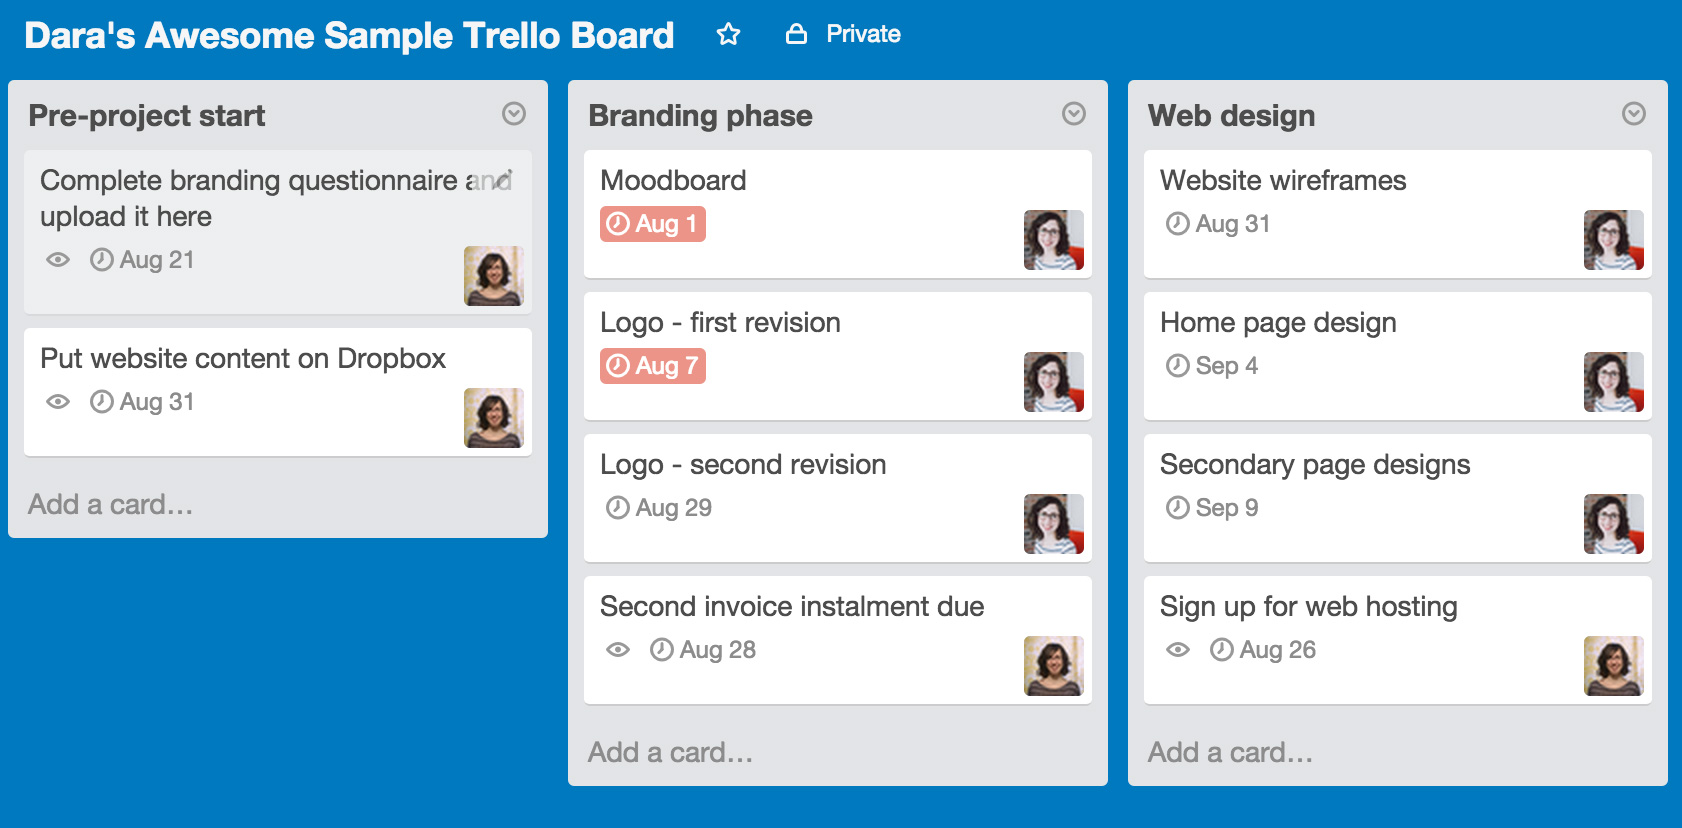
You can also create a “Done” list and drag items there as they’re done, or you can leave them in place if you prefer to see the project in phases throughout. You’ll notice that each item is tagged with a specific person (both of which are me, but let’s just pretend that they’re two different people, with the yellow background me being the client). This helps you keep track of which item belongs to which person, which is super helpful (but much more helpful in real life when they’re not both you).
Or, you can combine approaches! Sometimes I’ll use the project phases for my parts of the project (since I’m the designer/developer and am doing the majority of the work) and then have a separate list for the client’s to-dos, to keep them in a separate, easy-to-find spot.
In addition, you might consider the following lists:
Project Phase overview
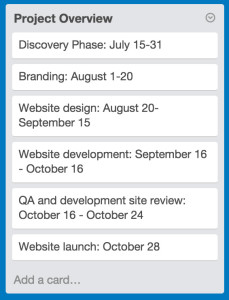
This isn’t a functional list but in a larger project it can be nice as an overview on a larger project so you and the client have an at-a-glance view of the project.
Project Documents/Uploads
You might also create an area where you/the client can share documents, images, and other helpful information. You can create cards for specific items (“Upload images here”, “Upload copy here”, that kind of thing). Or, you might have a shared Dropbox or Google Drive folder and not need this.
Meetings
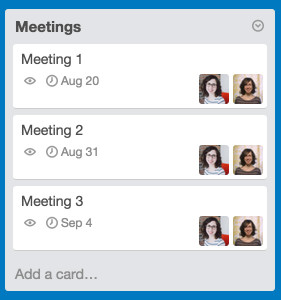
If you have lots of meetings throughout a project, you might want to create a list just for meetings, and then you can add the meeting agenda and/or meeting notes to the card. Handy! You’ll also see that I tagged both myself and “the client”, which means we’ll both get a useful notification to remind us both that the meeting is coming up soon.
Using labels effectively
One of Trello’s nice features is being able to label items by colour. Just like the list structuring, the labelling feature is extremely flexible, which means that you might wonder what to actually use it for.
When I’m organizing the lists by project phase, I like to create colourful labels for “To Do”, “In Progress” and “Completed”. Then we get to keep the project phase lists in tact and also get to see the status of each item. That looks something like this:
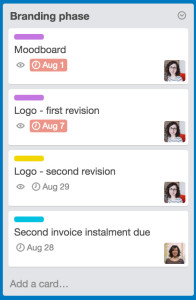
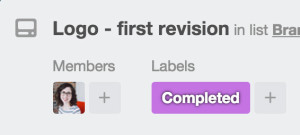
You can name each label, which then shows up when you click on the item:
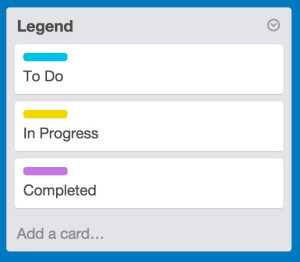
And then if you want to go the extra step, you can create a Legend list to remind yourself and your client what these colours actually mean! I usually leave this as the last list since other lists are more important.
You can really use the labels in any way that you want, so go nuts, friends.
Setting deadlines and using the calendar
One of my favourite parts of using project management software is that it will bug clients on your behalf when things are due. Instead of having to send repeated emails to tell your client that something is due soon, you can get Trello to do it for you! It feels less personal that way (it’s not you bugging them, it’s the software) and it’s less work.
You can set a deadline on each item, and then in the list view you can see, at a glance, when everything is due. This is great because it gives you and your client visual feedback on when something’s due soon or overdue. If you’ve tagged your client (more on that later), they’ll get an email notification a few days before the deadline to remind them that the task is due soon.
But did you know that Trello also has a calendar, and that you can view all your deadlines in whatever calendar software you use? For some reason, Trello hides this awesomeness, so I’ll show you how to get it.
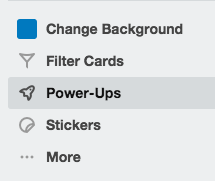
First, in the right hand menu, click on “Power-Ups”
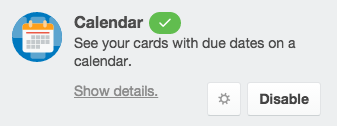
Then, find the Calendar and click “Enable”.
Then, you get a pretty calendar view of the entire project that lists all tasks by date, which is super convenient and might even be an easier way to view the project than the card/list view.
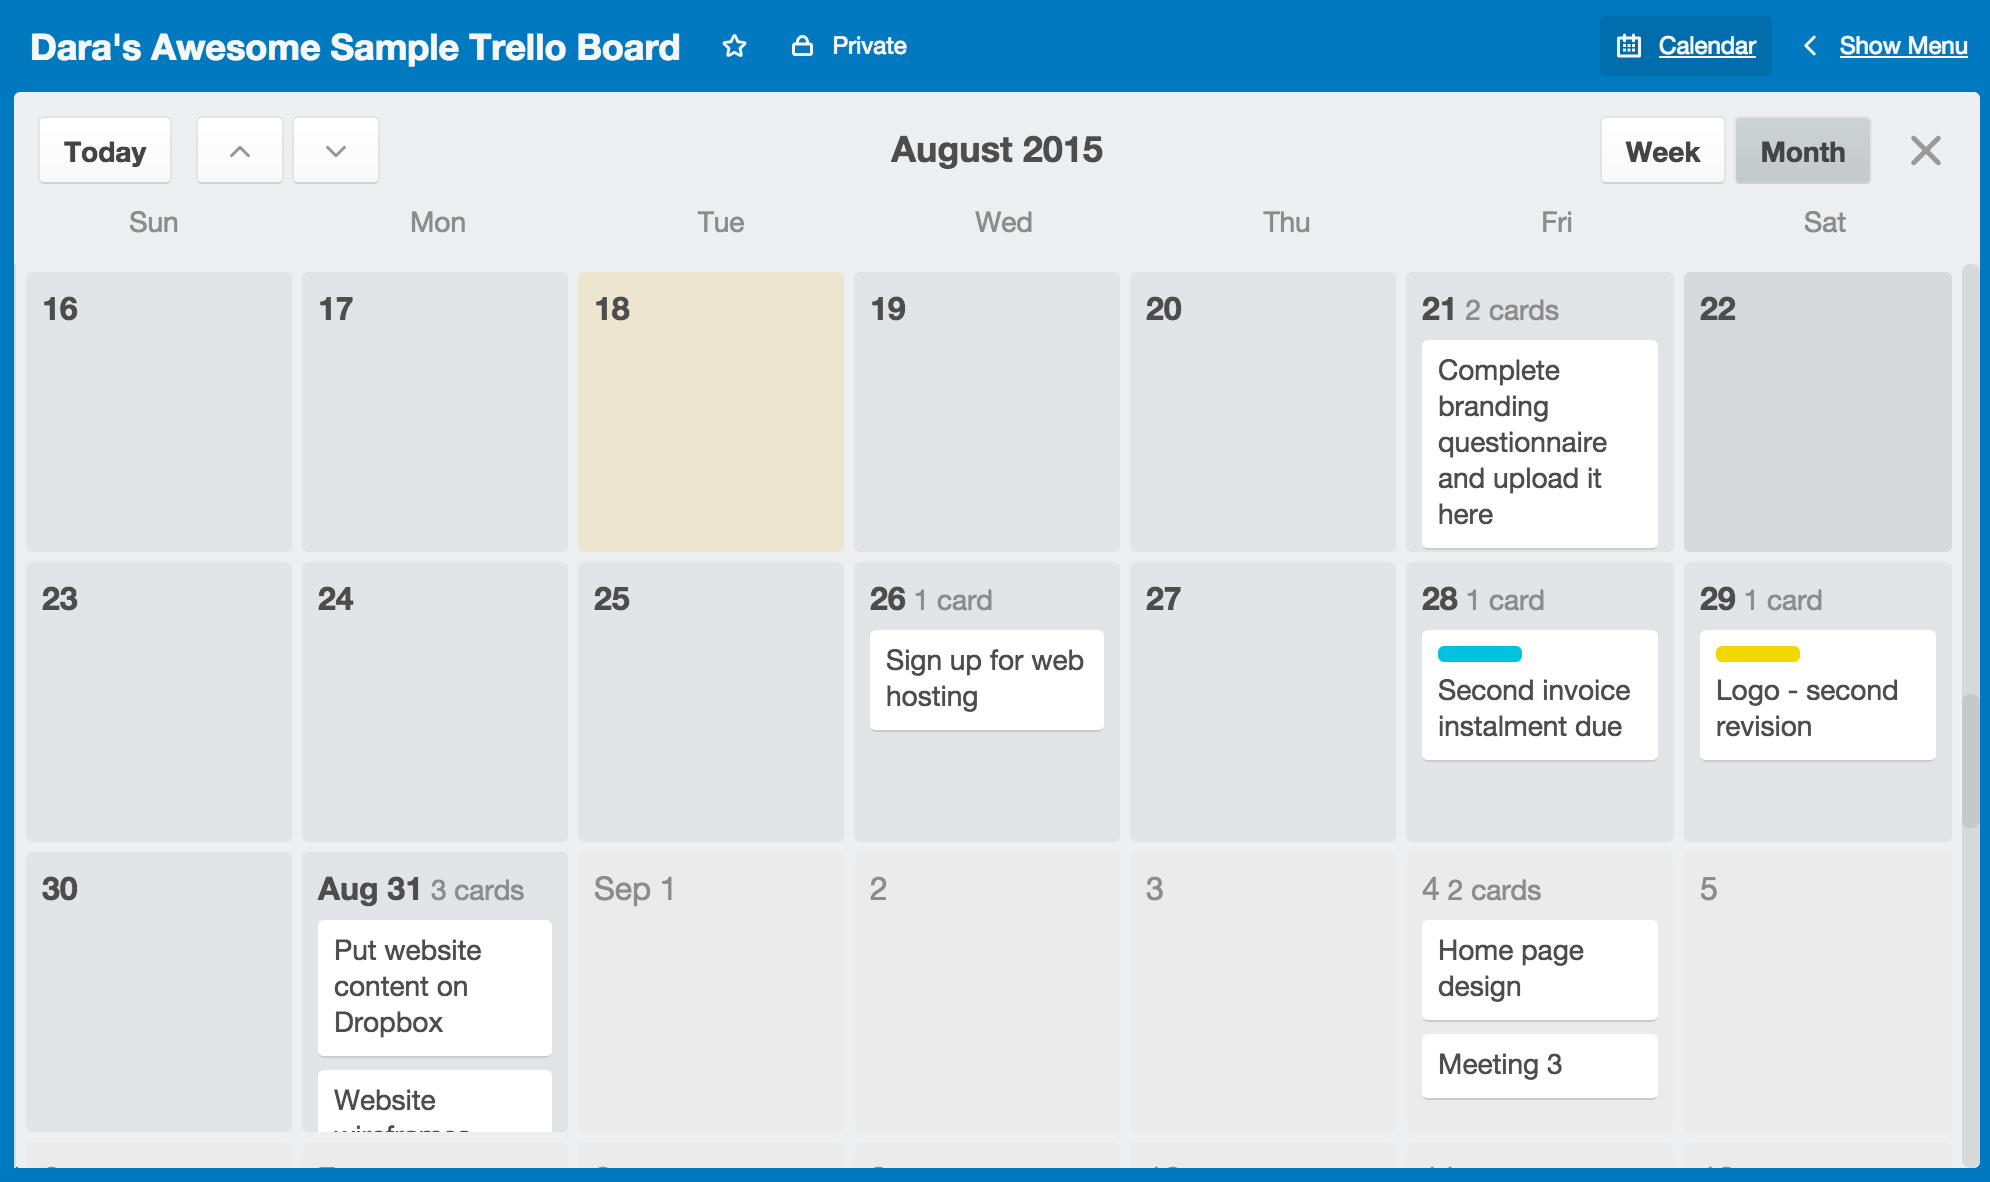
But wait… there’s more. You can even get your deadlines to show up in the calendar you already use.
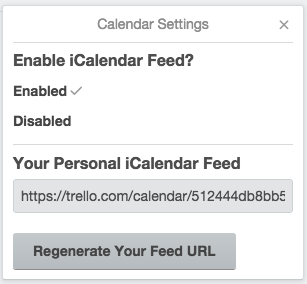
Click on the settings cogwheel and then enable the calendar feed
You’ll want to either subscribe to the calendar feed using an app like Apple’s Calendar or a web-based calendar like Google Calendar. Magic!
You can also just view the calendar on Trello itself, which is nice because you can then click on the cards to see the card detail view right from the calendar.
Make sure to tag the client… and yourself!
Remember when I said that Trello (or any good project management system) is awesome because it automatically sends reminders when deadlines are coming up? This only happens if you tag them for those specific items.
This is a good thing – if you have, say, 42 people working on a project (which probably isn’t the case for you or me, but hey, it could happen), you don’t want everyone receiving notifications about things that don’t even relate to them.
So, make sure to tag clients on items that concern them. Otherwise they won’t receive any notifications and they might not know that the item is even happening/is due soon, and then what’s the point?
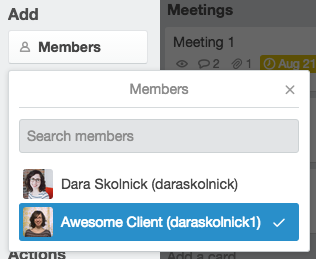
And while you’re at it, be sure to tag yourself as well if you want to be notified about activity on the item! Even if the item is strictly a client to-do (say, uploading content or paying an invoice), if you don’t tag yourself, you won’t be notified if they write a message on that card, which means that you can accidentally miss something unless you’re logging into Trello all the time.
There are really so many ways to use Trello and this is just the tip of the iceberg. I hope you found this helpful! If you organize your boards in a completely different way or use features that I didn’t even talk about, feel free to share what you do in the comments. I’d love to hear about it!
P.S. If you’re not already a Trello user and want to sign up, feel free to do so through my recommendation link. It’s not really an affiliate link since I don’t get any money, but I do get a month of “Trello Gold”, which lets you do stuff like set custom background pictures, and who doesn’t like setting custom background pictures.
