


See?
See?
If I’m going to be spending hours at a time working away in one place every single day, I want to really like it. For better or for worse, I spend a lot of time at my desk in my ‘home office’ (doesn’t that sound fancy and grown up?), and after having worked in some pretty hideous setups (some of my own old rooms included), I can confidently report that I’m way more happy and productive when I’m in a space that I actually like. (Crazy, right?) With that in mind, I decided to walk you through how I made my workspace into one that I actually enjoy.
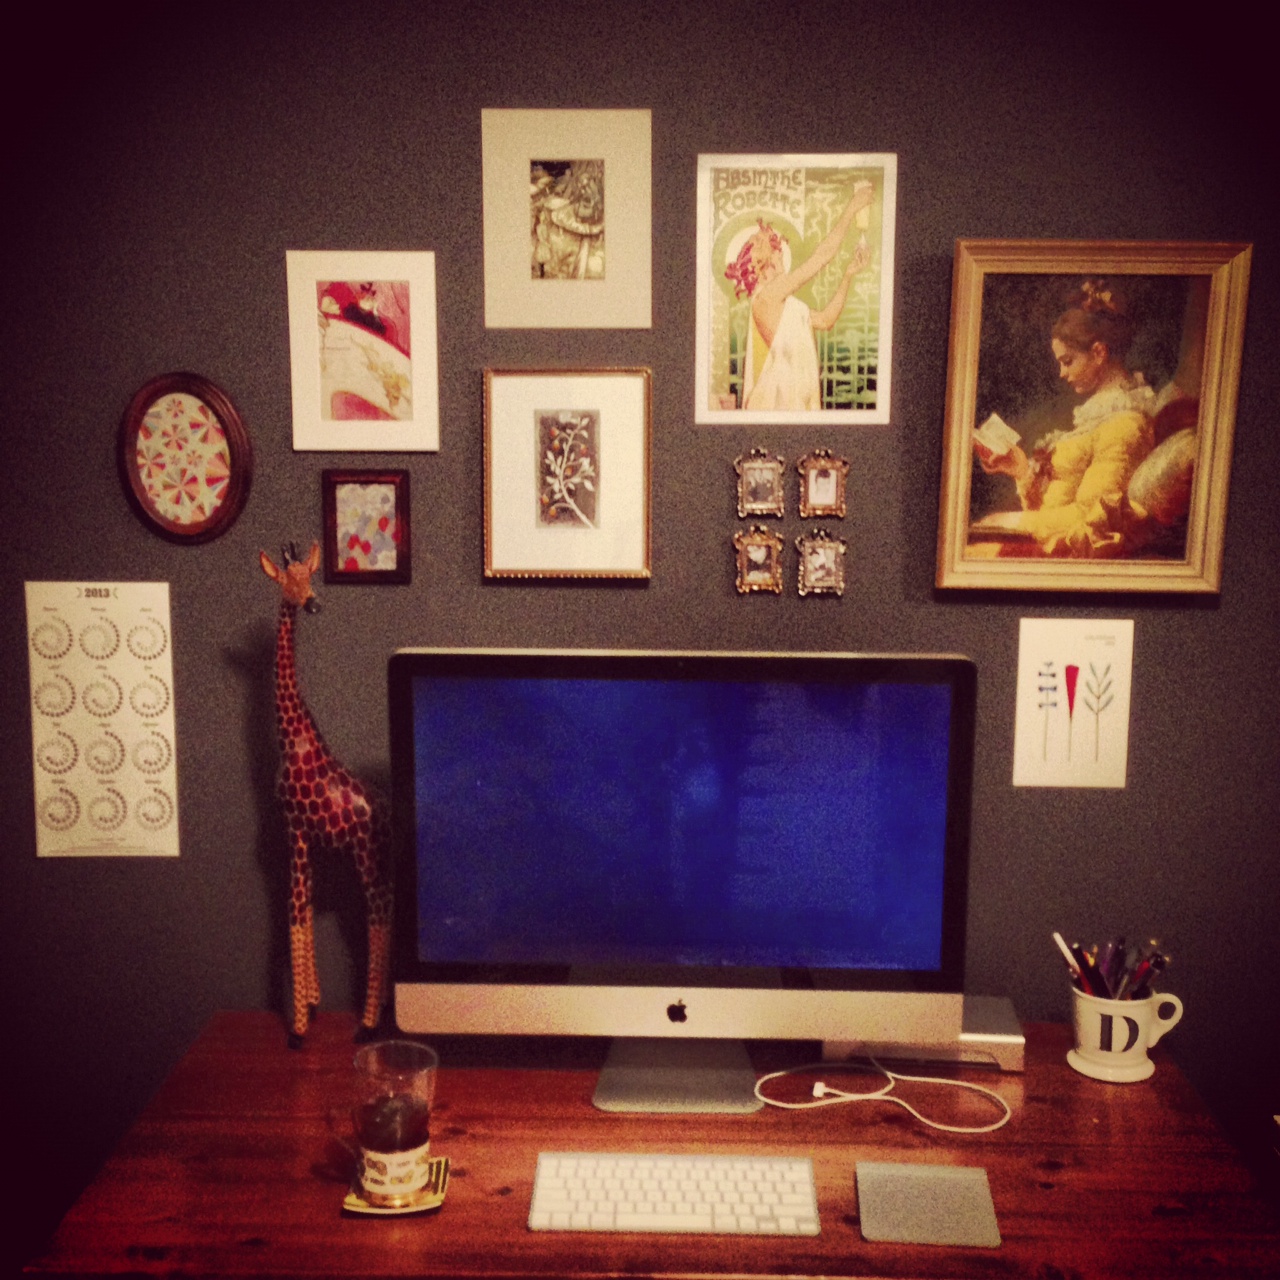
While buying new furniture can be expensive and a little heart-wrenching, it’s pretty easy to make your walls awesome with minimal pain and hassle. Here’s what mine looks like, in all its Instagrammed glory:
And here are the steps to put one together yourself!
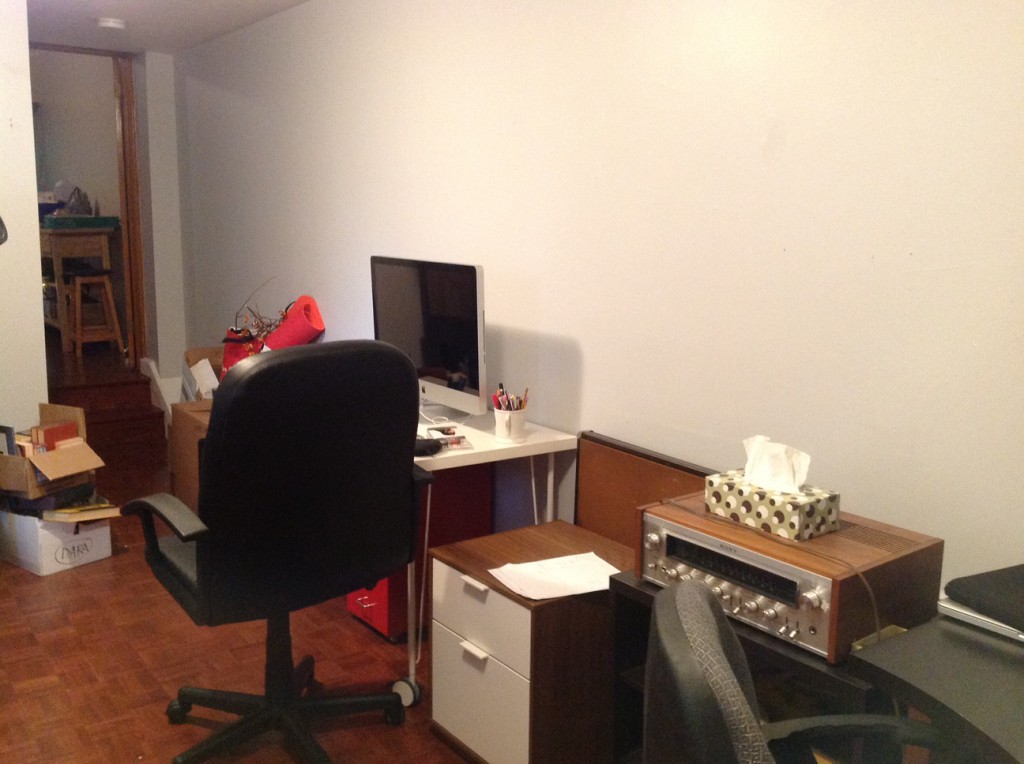
As a designer, I am contractually obligated to tell you that colour is, like, totally important. In all seriousness, though, the wall colour totally dictates a room’s look, feel, and atmosphere, so picking one you like can really improve how you perceive your workspace. When we moved into this apartment, the wall was a colour that I quickly named Poopy Grey:
It took hours and hours to properly stage this beautiful shot.
Although this particular shade of light grey might be someone else’s favourite colour (maybe the last tenant’s?), it wasn’t my style at all, so it had to go. I decided to paint this wall a nice dark grey because I found it both dramatic and calming, and so that any art would stand out nicely against it. The rest of the walls in the room are white, which a) helps the one dark wall seem more prominent and b) keeps me from feeling like I’m working in a cave. The colour I chose is Benjamin Moore’s Gray. I was a little disappointed that it didn’t have a fancier name, but you can’t always get what you want.
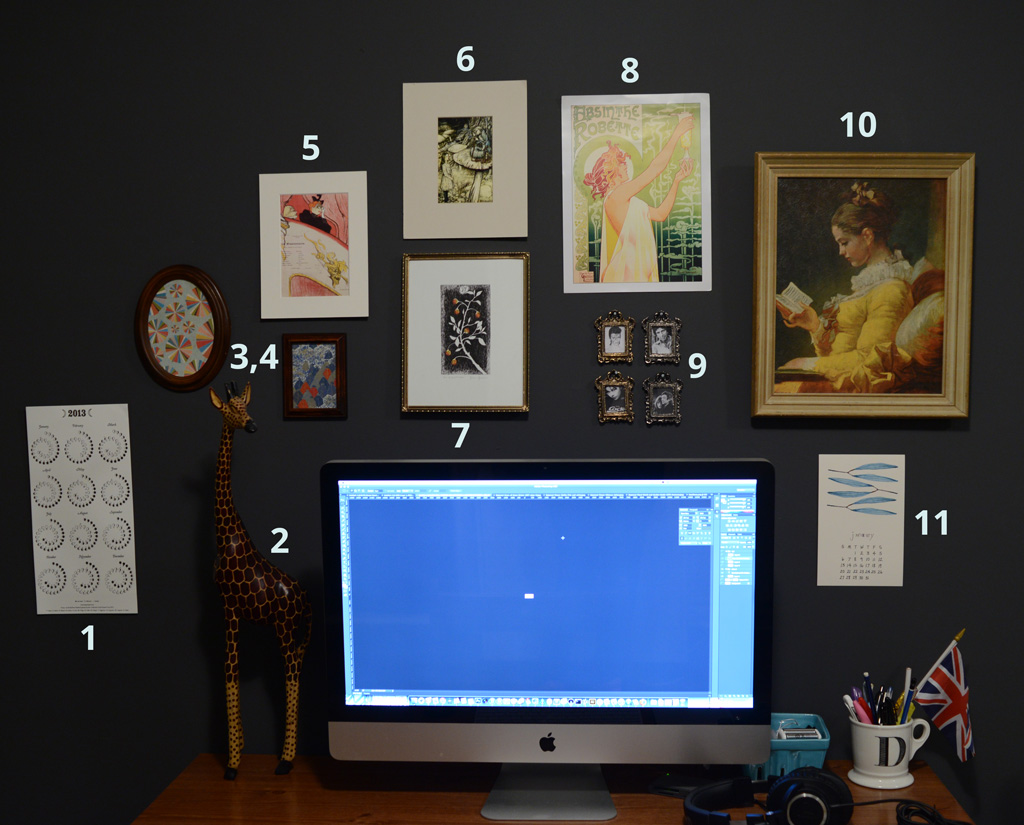
This is by far the most fun step, and you can do this all at once, or gradually over time. I definitely took the latter approach — I’ve been collecting art and prints since I was in high school. This is totally not surprising at all given that I studied art history, but you definitely don’t need academic training to know what you like! It’s nice to build up a bit of a ‘collection’ over time and then pick and choose which pieces go up on your walls. Let me walk you through the art I chose to feature:
Other sources include sites like Etsy and local craft shows. For example, I’ve seen tons of great art at City of Craft in Toronto. You can check out Andrea Jaggs‘ recap to see what I mean! Supporting local and independent artists is awesome because it’ll give you warm, fuzzy feelings as well as ensure that some of your pieces are unique.
Like so:
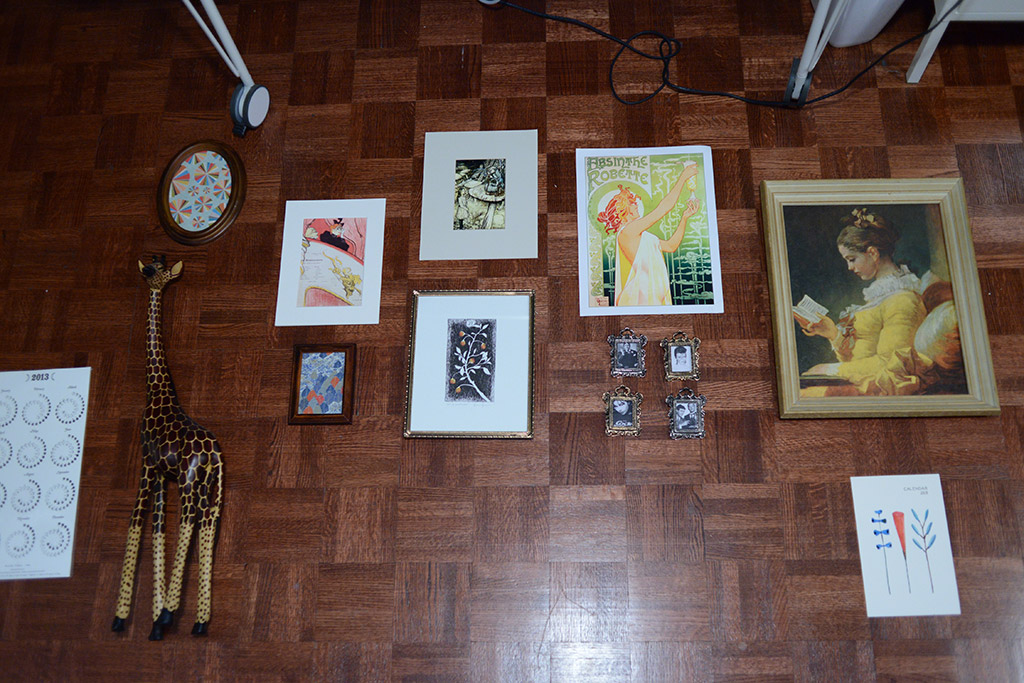
And make sure to take a picture (or two) so you can replicate it later.
Like so:
I thought this bright idea was original, until I was informed that it’s been all over Pinterest for ages. So much for that.
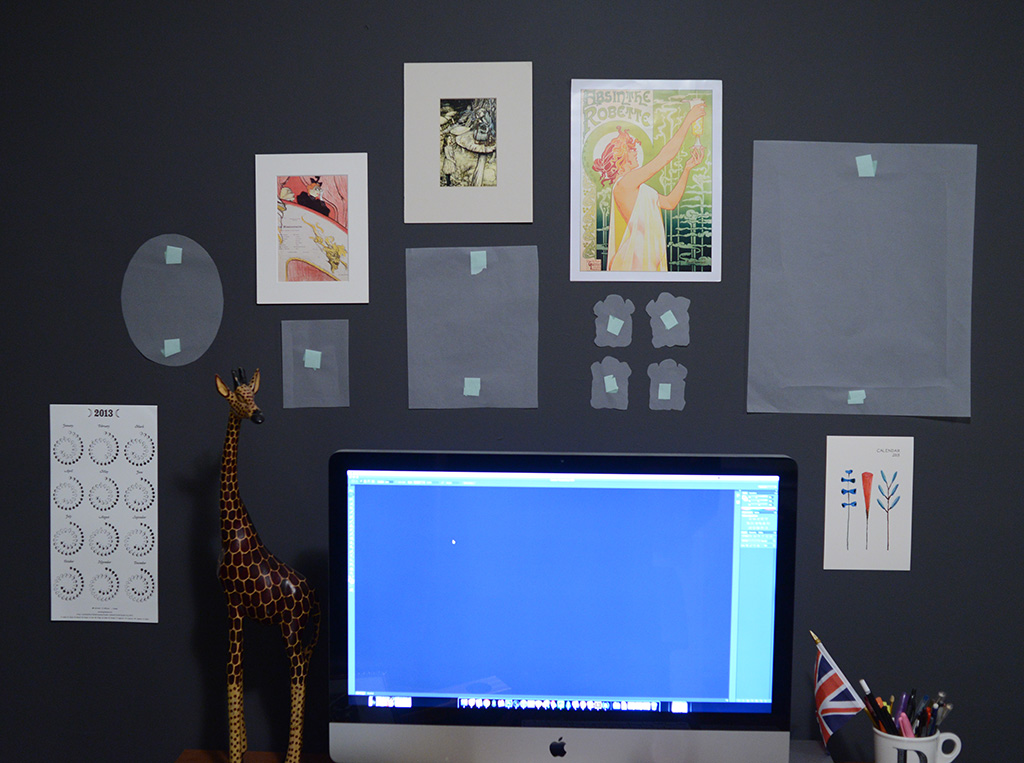
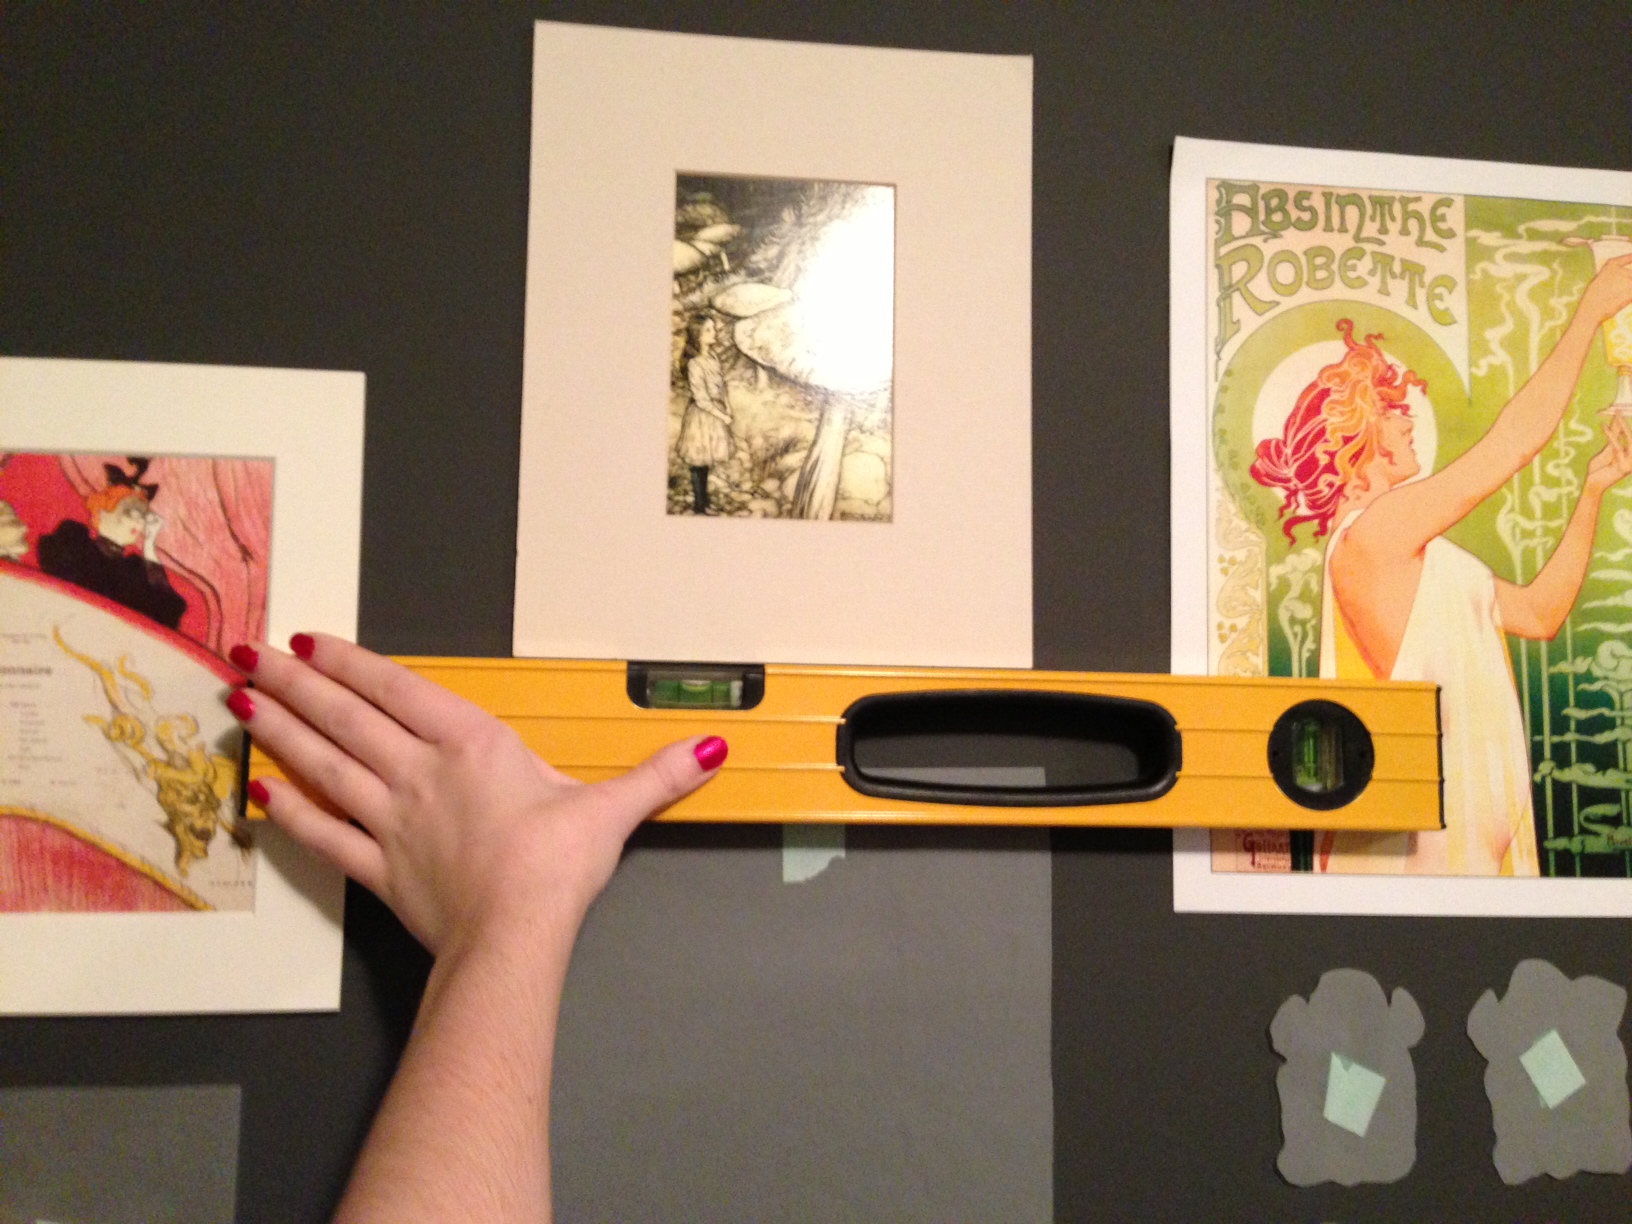
Hammering a bunch of nails into your wall is a bit of a commitment, so going through this step helps you arrange things exactly as you like. I taped all of the light, frameless prints straight to the wall using painters’ tape and used paper decoys for the framed pieces.
Optional: drive yourself crazy by attempting to use a level.
How do you like to decorate your favourite spaces and make them feel like your own? Let me know!
Happy New Year, everyone!
This year, I’ve decided to create a desktop wallpaper for each month. After doing so much web design, I’ve missed designing for fun, non-web related purposes. Without further ado, here’s the first one!
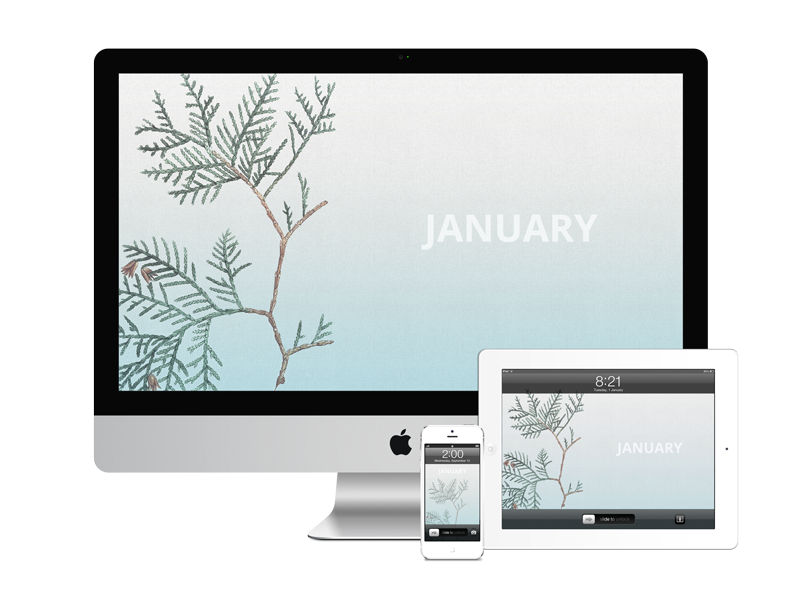
Computer (2560 x 1440) • Tablet (2048 x 2048) • Mobile (640 x 1136)
They’re sized for a 27″ iMac, a retina iPad, and an iPhone 5 respectively, but they should all work for smaller devices, too.
Enjoy!